Most homeowners only learn what water damage restoration actually involves after they need it. Before that point, the term is vague. It sounds like “cleanup.” It sounds like a company shows up, sucks the water out, and leaves a few fans behind for a day or two.
That is not what it is.
Water damage restoration is a multi-stage technical process that combines moisture science, structural drying, demolition, documentation, and reconstruction. Done right, it stops damage from spreading, prevents mold, and returns the property to its pre-loss condition. Done poorly, it leaves hidden moisture inside walls, voids portions of the insurance claim, and creates problems that surface months later.
After more than 20 years of combined industry experience responding to water losses across Montgomery County, our team at Dri-Tex Restoration has handled everything from supply line failures in single-family homes to multi-unit losses in apartment complexes. The work follows a structured sequence. This post walks through every step of what is included — and what should be — when you hire a legitimate restoration company.
Step 1: Emergency Response and Initial Assessment
The clock starts the moment water enters a structure. Most insurance policies require the homeowner to take reasonable steps to mitigate further damage, and Texas humidity means mold can begin developing within 24 to 48 hours of saturation.
A proper water damage restoration company responds the same day. On arrival, the team performs an initial assessment that includes:
• Identifying and stopping the water source if it has not already been resolved
• Determining the category of water (Category 1 clean, Category 2 gray, Category 3 black)
• Determining the class of loss (Class 1 through 4, based on how much material is saturated)
• Photographing the affected areas before any work begins
• Walking the homeowner through what to expect
The category and class designations are not just paperwork. They determine which materials can be salvaged, what protective equipment crews need to wear, and how the insurance carrier will scope the claim.
Learn more about our Water Damage Restoration services.
Step 2: Water Extraction
Standing water has to come out first. Every hour it sits, more of it migrates into subfloors, wall cavities, insulation, and adjacent rooms.
Extraction equipment varies by job size:
• Truck-mounted extractors for large-volume losses
• Portable extractors for tight spaces and second-story work
• Submersible pumps for standing water deeper than two inches
• Weighted extraction tools that pull water out of carpet and pad before drying begins
This phase is fast. A trained crew can extract most residential water losses within the first few hours on-site. What takes longer is what happens next — drying the moisture you cannot see.
Step 3: Moisture Mapping and Documentation
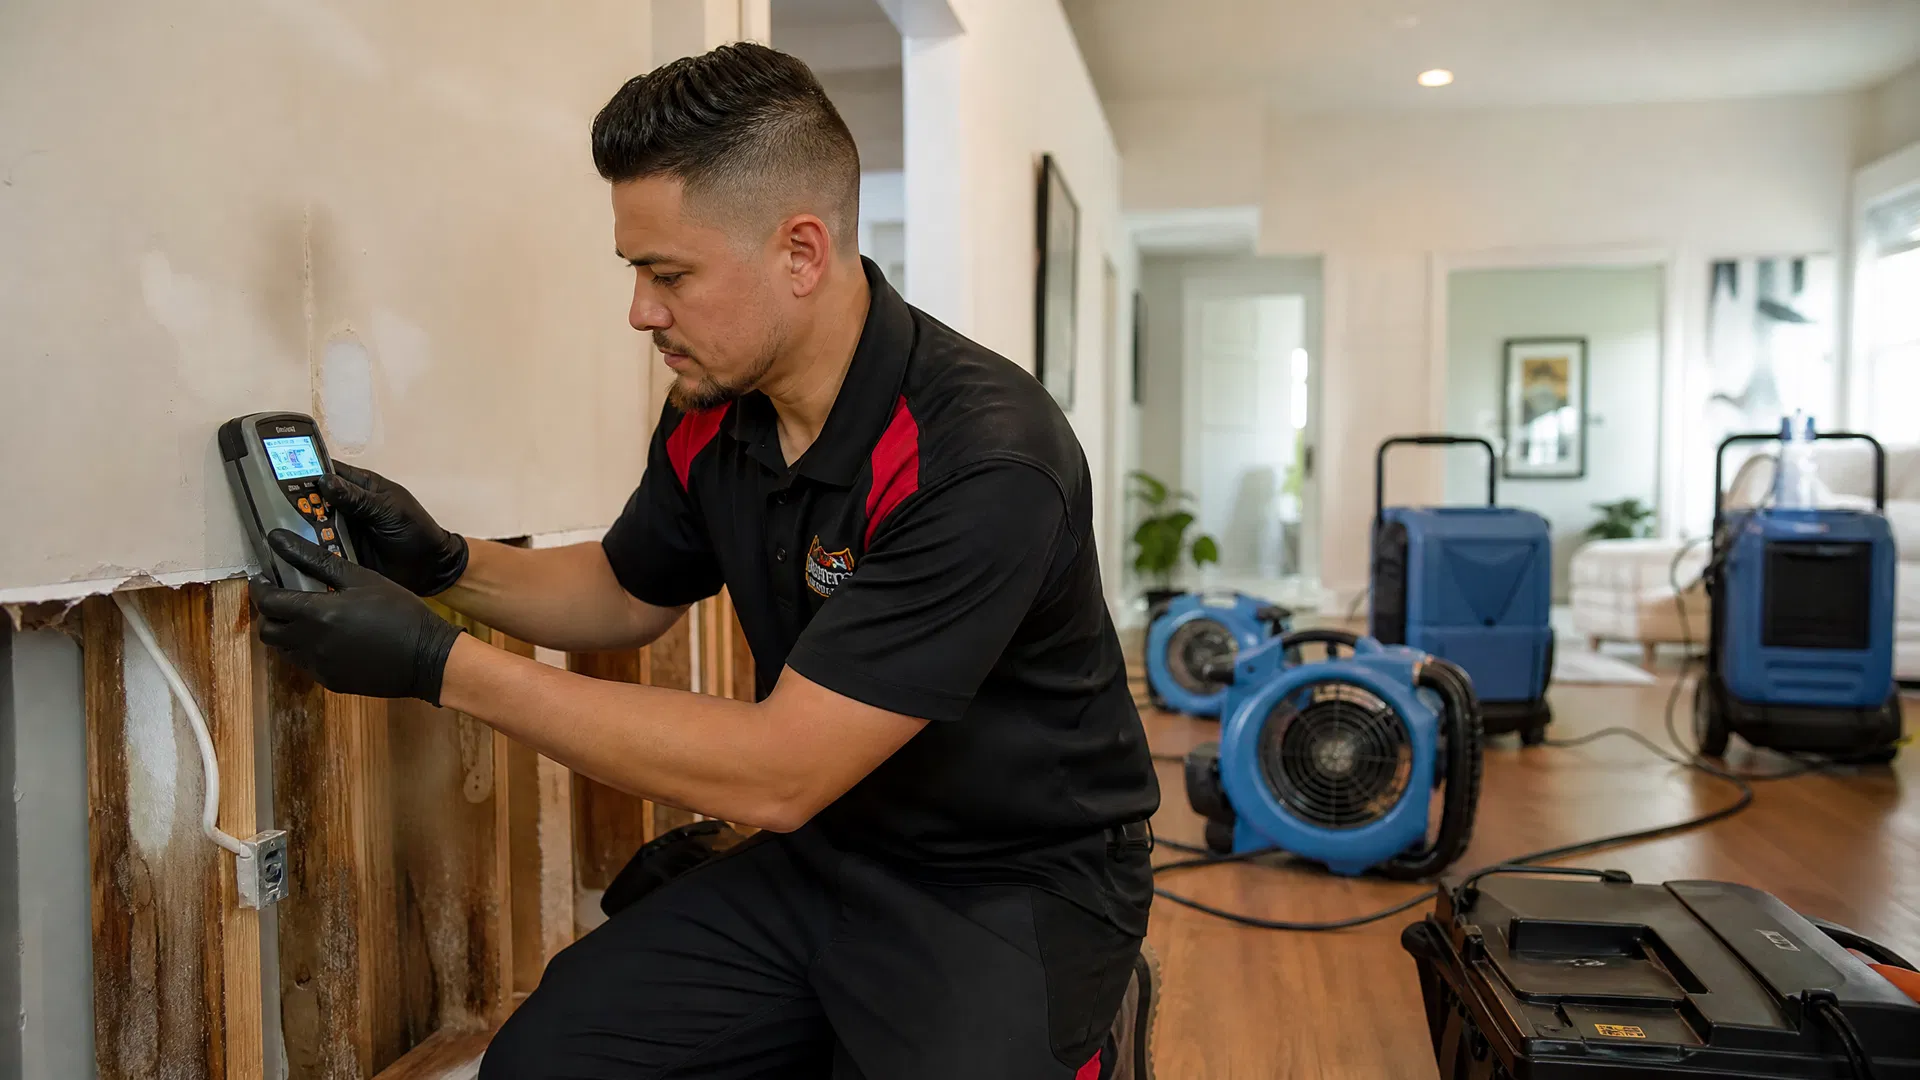
This is the step that separates a real restoration company from a cleanup crew. Moisture mapping uses specialized tools to find water that has traveled beyond the visible damage.
The equipment used:
• Thermal imaging cameras to identify temperature differentials caused by moisture in walls, ceilings, and floors
• Penetrating moisture meters for drywall, wood, and other porous materials
• Non-penetrating meters for finished surfaces where the crew does not want to leave marks
• Hygrometers to measure ambient humidity and dew point
Every reading gets logged. This documentation builds the foundation of the Xactimate scope that gets submitted to the insurance carrier. Without it, the claim is harder to defend, and homeowners often end up paying out of pocket for work that should have been covered.
A Real Example From the Field
A homeowner in Conroe called us after a water heater burst in a second-floor utility closet. The visible damage was confined to the closet itself and a small section of ceiling below. The homeowner assumed the job would be straightforward — replace the heater, dry the closet, patch the ceiling.
Our initial moisture mapping told a different story. The water had traveled along the joist line for nearly fourteen feet before dropping down into the wall cavity of the dining room. From there, it had wicked into the baseboards and the back of an adjacent built-in cabinet.
None of that was visible from the surface. Without thermal imaging and meter readings, the standard scope would have addressed about thirty percent of the actual damage. Six weeks later, the homeowner would have noticed warped baseboards and a musty smell — and the second-phase work would have been far more expensive than catching it the first time.
This is what proper moisture mapping prevents. It is also why a written scope from a certified company is non-negotiable before work begins.
When moisture goes undetected, Mold Remediation often becomes necessary.
Step 4: Containment and Demolition
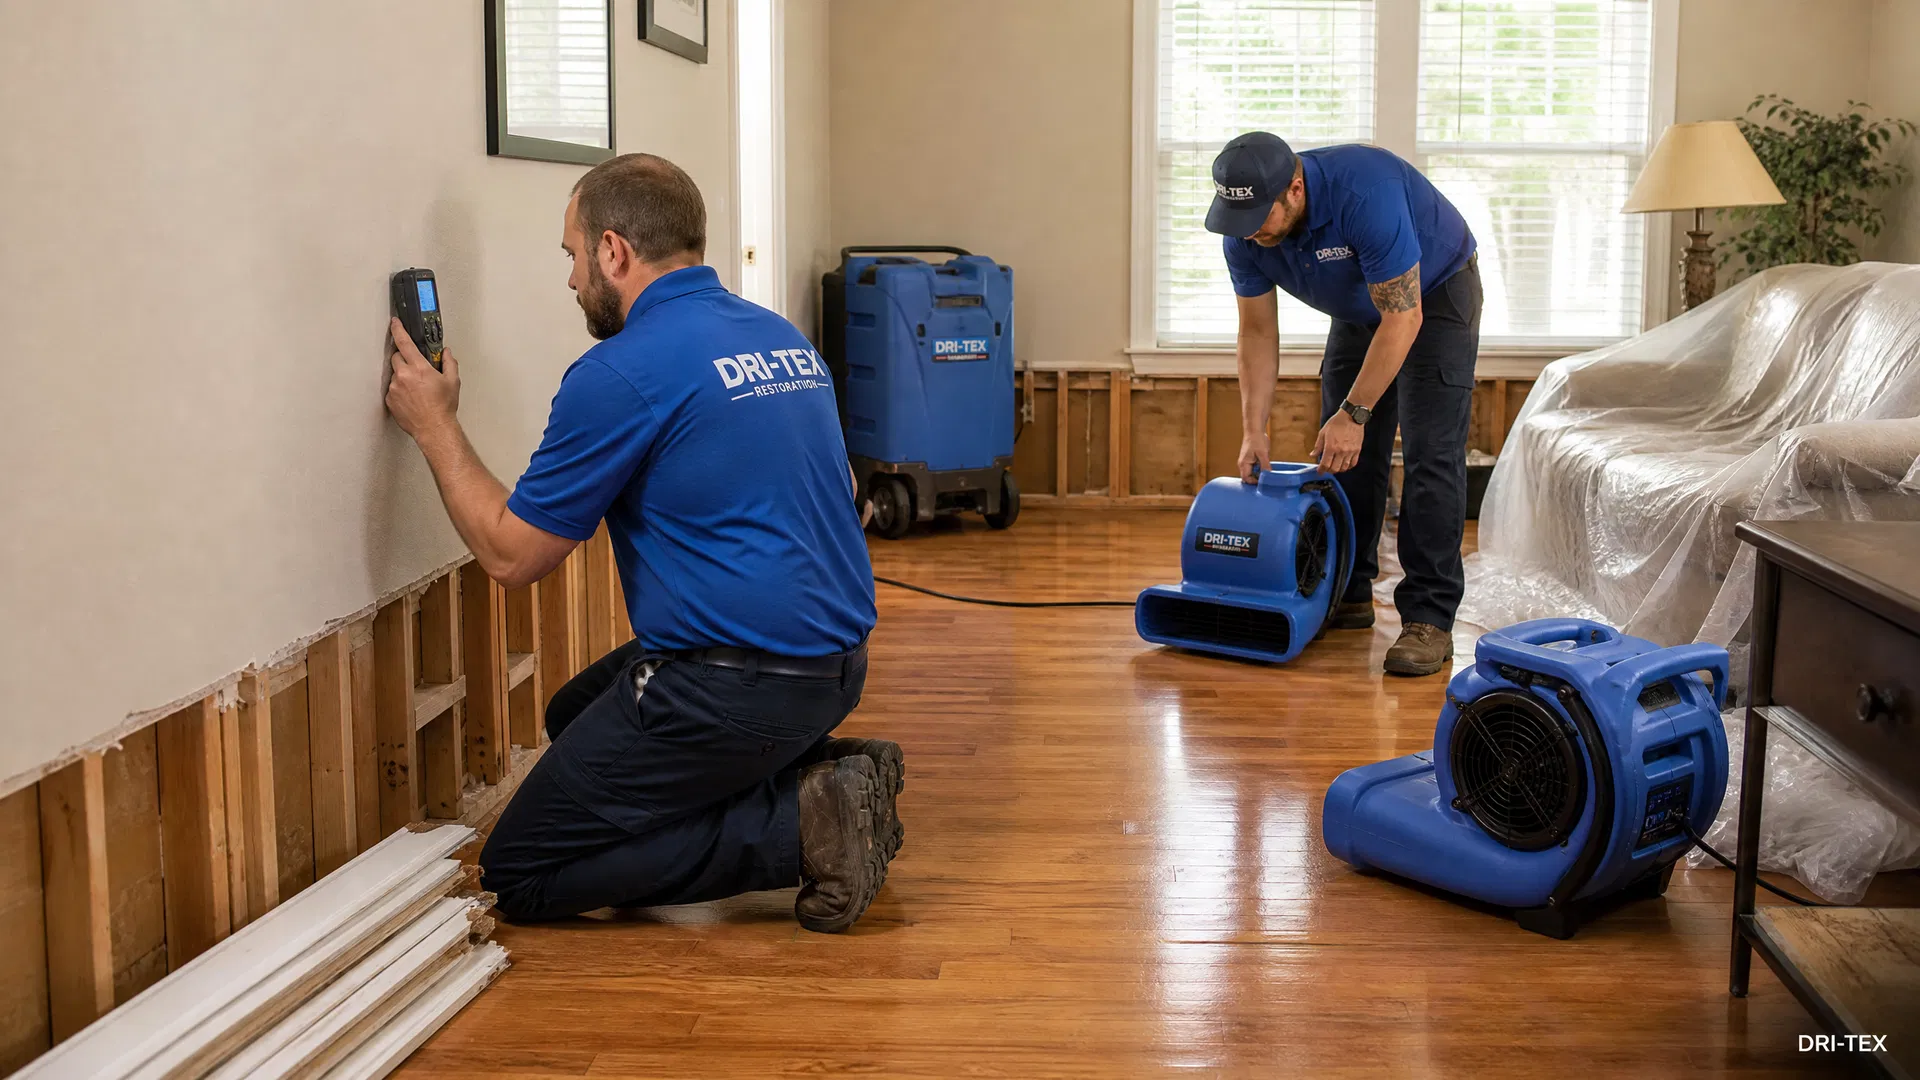
Once the affected areas are mapped, the next phase is selective demolition. Materials that cannot be dried in place must be removed. Materials that can be saved are protected.
Removal typically includes:
• Wet drywall (cut to the next stud above the saturation line)
• Saturated insulation
• Carpet pad and, in some cases, the carpet itself
• Damaged subfloor (if Category 2 or 3 water reached it)
• Baseboards and trim that have wicked moisture
Containment barriers go up to prevent the work area from contaminating the rest of the home. Negative air machines with HEPA filtration keep airborne dust and any potential microbial contamination from spreading.
This step often surprises homeowners. It can look worse before it looks better. But removing the wet materials is what allows the structure underneath to dry properly. Leaving them in place is what creates mold problems.
Step 5: Structural Drying
This is the heart of water damage restoration services, and it is the step most often shortcut by companies that do not know what they are doing.
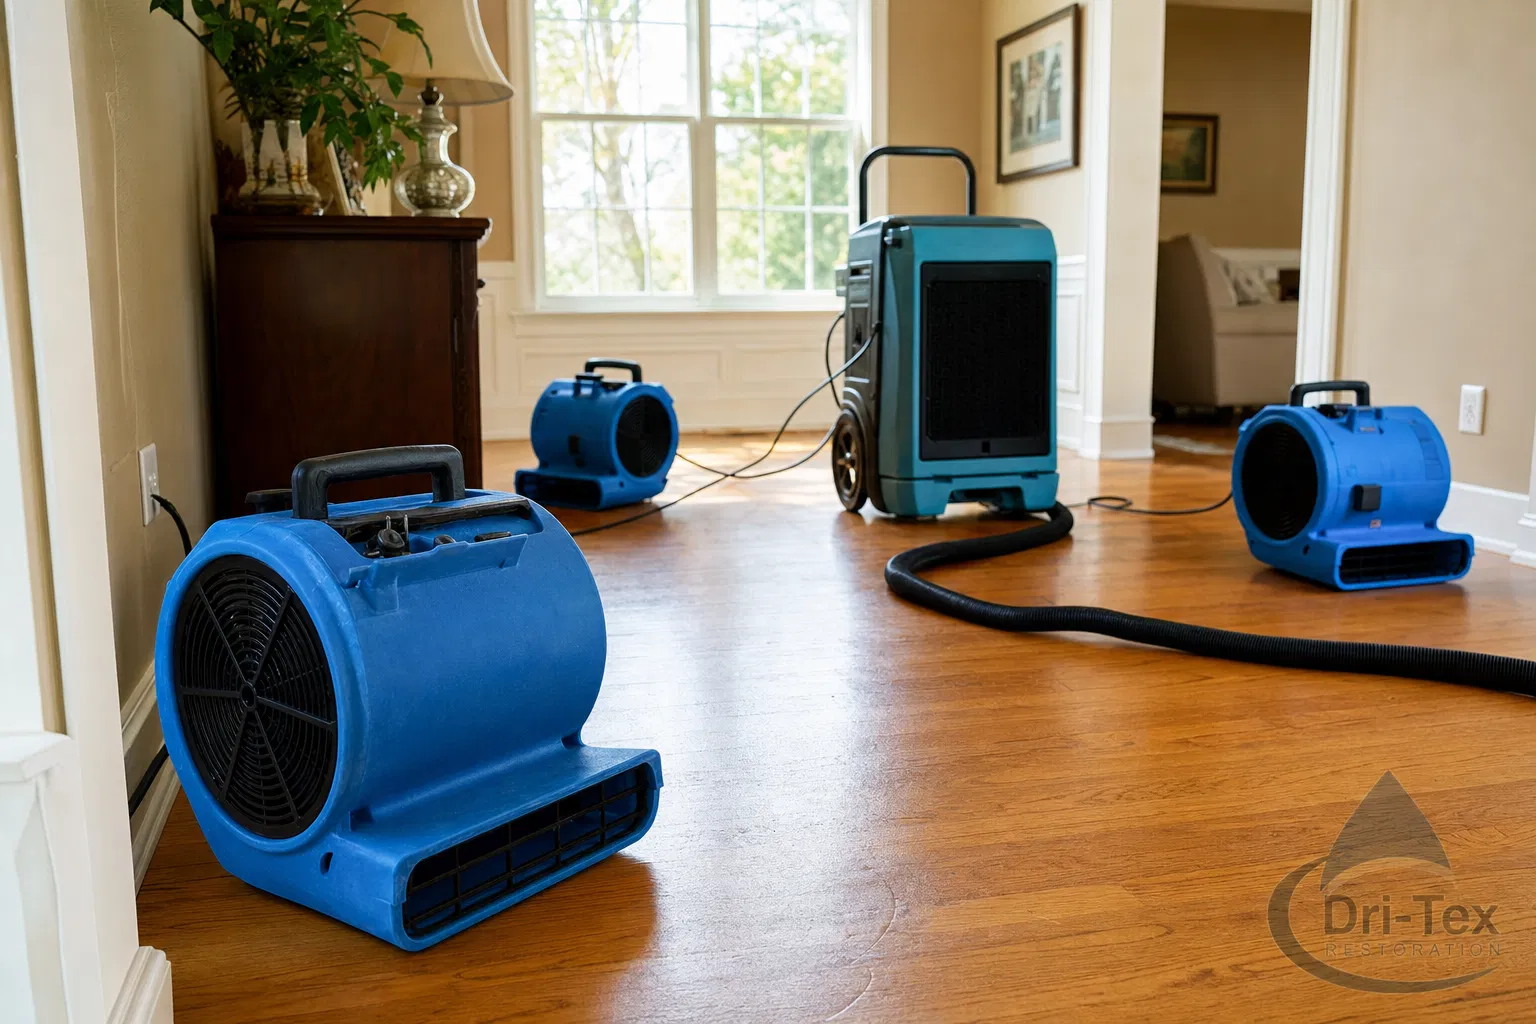
Proper structural drying uses psychrometry — the science of managing temperature, humidity, and airflow to draw moisture out of building materials. The equipment used:
• Air movers positioned to create directional airflow across wet surfaces
• Refrigerant dehumidifiers for typical residential losses
• Desiccant dehumidifiers for larger jobs or low-temperature conditions
• Heat-assisted drying systems for hardwood floors and other dense materials
A trained crew calculates the equipment needed based on the volume of affected space, the materials saturated, and the ambient conditions. This is not a guess. IICRC standards provide specific formulas for how many air movers and how much dehumidification capacity is required for a given loss.
Drying is monitored daily. Moisture readings get logged each visit until materials return to the dry standard, which is typically established by taking readings in an unaffected area of the same home.
Step 6: Cleaning and Antimicrobial Treatment
Once the structure is dry, the affected areas are cleaned. The level of cleaning depends on the water category:
• Category 1 (clean water) — standard cleaning and deodorization
• Category 2 (gray water) — antimicrobial treatment on all affected surfaces
• Category 3 (black water) — full sanitization protocols, removal of porous materials, and often PPE-required handling
Antimicrobial treatments are not optional in gray and black water losses. Skipping them is one of the most common shortcuts taken by undertrained crews, and it is one of the leading causes of post-restoration mold complaints.
Step 7: Documentation Handoff to Insurance
By the end of the mitigation phase, a complete documentation package should exist:
• Pre-work photographs of all affected areas
• Initial and daily moisture readings
• Equipment logs (what was used, where, and for how long)
• Material disposal documentation
• A line-item Xactimate scope priced to the carrier’s current pricing
• Final dry readings confirming the structure returned to baseline
This package goes to the homeowner and the adjuster. It is what the carrier uses to settle the mitigation portion of the claim. Without it, payments get delayed or disputed.
Schedule a free moisture inspection with our team.
Step 8: Reconstruction
After the structure is dry and clean, the rebuild phase begins. Reconstruction puts the home back to its pre-loss condition and typically includes:
• Drywall replacement and finishing
• Texture matching and painting
• Flooring replacement (hardwood, tile, carpet, LVP)
• Baseboard and trim installation
• Cabinet repair or replacement
• Ceiling repair and texture work
Not every restoration company handles the rebuild phase in-house. Some do mitigation only and hand the homeowner off to a separate contractor. Others — including Dri-Tex — handle both phases under one roof, which simplifies the timeline, the documentation, and the warranty.
Learn more about our full Reconstruction Services.
What Should Be Included But Often Is Not
A few items belong in a proper water damage restoration scope that homeowners frequently get shortchanged on:
• Contents handling — moving and protecting furniture, then moving it back when the work is done
• Pack-out services for jobs where contents need to leave the property entirely
• HVAC inspection if water reached the ductwork or air handler
• Plumbing repair coordination beyond stopping the initial leak
• Carpet re-installation if the original carpet was salvaged
Before signing a scope, confirm what is and is not included. A reputable company puts it all in writing up front.
The Honest Truth About Pricing
Water damage restoration is not cheap. A modest single-room loss can run several thousand dollars in mitigation alone. A multi-room loss with Category 2 water and hardwood floors can run well into five figures before reconstruction even begins.
That sounds like a lot until you compare it to the cost of doing it wrong. Homes that get half-dried turn into mold remediation jobs that cost double. Homes that skip antimicrobial treatment on gray water losses turn into health complaints. Homes that get rebuilt without proper documentation turn into denied claims.
The price reflects the equipment, the training, the certifications, the insurance, and the time it actually takes to dry a structure correctly. Cheap restoration is almost always more expensive in the end.
Schedule a Free Water Damage Inspection in Montgomery County
If your home has experienced water damage, the right next step is a professional assessment — not a guess about how much water might be hiding behind a wall.
Dri-Tex Restoration is a licensed, IICRC-certified company providing complete water damage restoration services to Conroe, Montgomery, Willis, The Woodlands, Spring, and the surrounding Greater Houston area. Our team handles every phase from emergency response through reconstruction, with full documentation submitted to your insurance carrier along the way.
Call (936) 324-0006 or visit our contact page to schedule a free moisture inspection.
Explore our Mold Remediation services if water damage has gone untreated.